
Window screens are an essential component of any home, providing protection against insects while allowing fresh air to circulate. However, over time, screens can become damaged, with holes and tears compromising their functionality. Fortunately, repairing window screens is a relatively simple task that can be done by homeowners themselves. In this article, we will discuss the process of patching holes and replacing mesh in window screens.
Materials You Will Need:
- Replacement screen mesh
- Scissors
- Utility knife
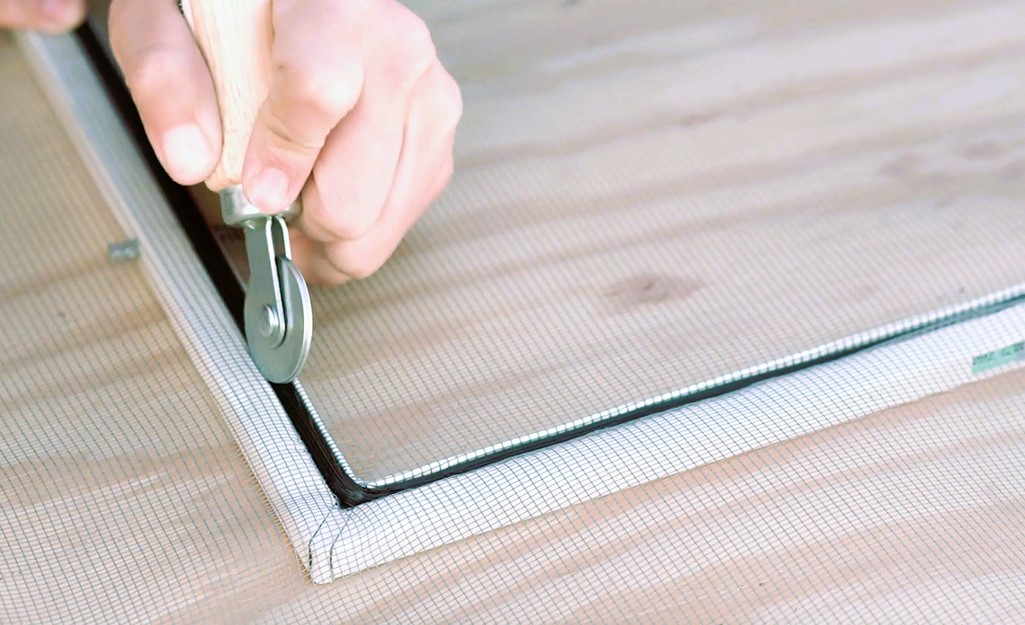
- Spline roller
- Screen patch kit (optional)
- Needle and thread (for hand-sewn patches)
- Adhesive (for adhesive-backed patches)
Patching Small Holes:
- Start by cleaning the damaged area of the screen. Use a soft brush or cloth to remove any dirt or debris that may interfere with the patching process.
- If you have a screen patch kit, cut a piece of the patch material slightly larger than the hole you need to repair. Position the patch over the hole, ensuring that it completely covers the damaged area.
- If you don’t have a screen patch kit, you can create your own patch using a small piece of replacement mesh. Cut the mesh to size, allowing for a generous overlap around the hole.
- Secure the patch in place by using either a needle and thread or adhesive. For hand-sewn patches, use a needle and thread to stitch around the edges of the patch, attaching it to the screen. For adhesive-backed patches, remove the backing and press the patch firmly onto the screen, ensuring that it is securely attached.
Replacing Damaged Mesh:
- Start by removing the damaged screen from the window frame. Depending on the type of window, this may involve removing screws or prying off the screen frame.
- Lay the screen flat on a clean, flat surface, with the damaged side facing up. Use a utility knife or scissors to cut away the damaged mesh, removing it completely.
- Roll out a piece of replacement screen mesh over the frame, ensuring that it covers the entire area to be repaired. Leave a generous overlap around the edges of the frame.
- Starting at one corner, use a spline roller to press the mesh into the groove around the frame. Apply gentle pressure as you work your way around the frame, ensuring that the mesh is taut and securely held in place by the spline. Tips for choosing windows for all seasons in Quebec, more details at the link.
- Once the mesh is secured all the way around, use a utility knife or scissors to trim off any excess mesh, leaving a clean edge.
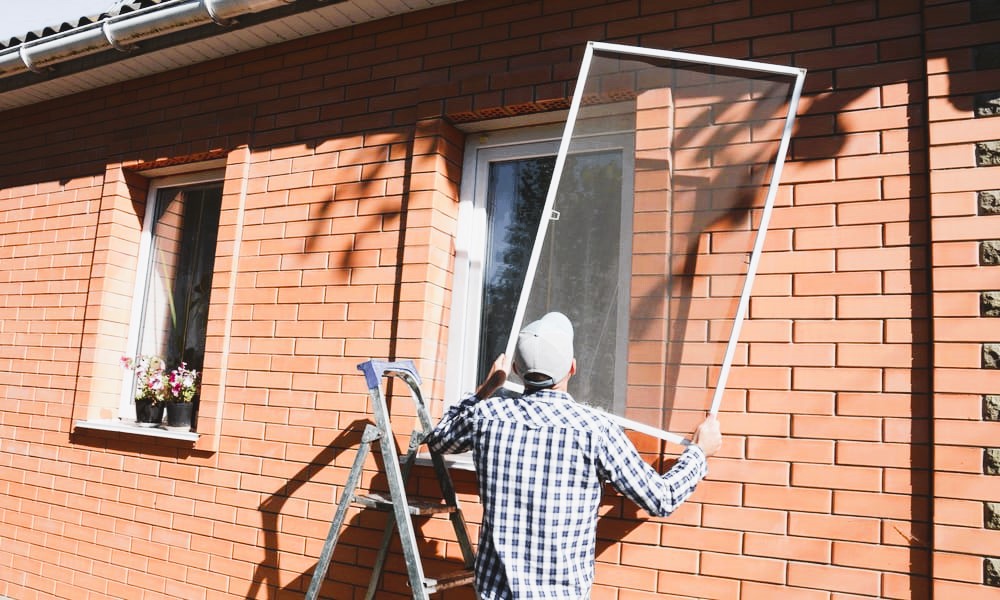
- Reinstall the repaired screen back into the window frame, ensuring that it fits snugly and securely.
Tips for Successful Repairs:
- Measure the size of the damaged area before cutting your patch or replacement mesh. It’s always better to have a patch or mesh that is slightly larger than needed, as you can trim off the excess later.
- When patching holes, choose a patch material that matches the color of your existing screen to ensure a seamless repair.
- If your screen has multiple holes or extensive damage, consider replacing the entire mesh rather than patching individual holes.
- Take your time when working with the spline roller to ensure that the mesh is properly seated in the frame groove. This will help prevent future tears or gaps.
- Regularly inspect your window screens for any signs of damage and repair them promptly to prevent further deterioration.
Conclusion
Repairing window screens is a relatively straightforward task that can save you money and extend the lifespan of your screens. Whether you’re patching small holes or replacing the entire mesh, the process can be easily accomplished with the right materials and a bit of patience. By keeping your window screens in good repair, you can enjoy the benefits of fresh air and insect protection for years to come.